
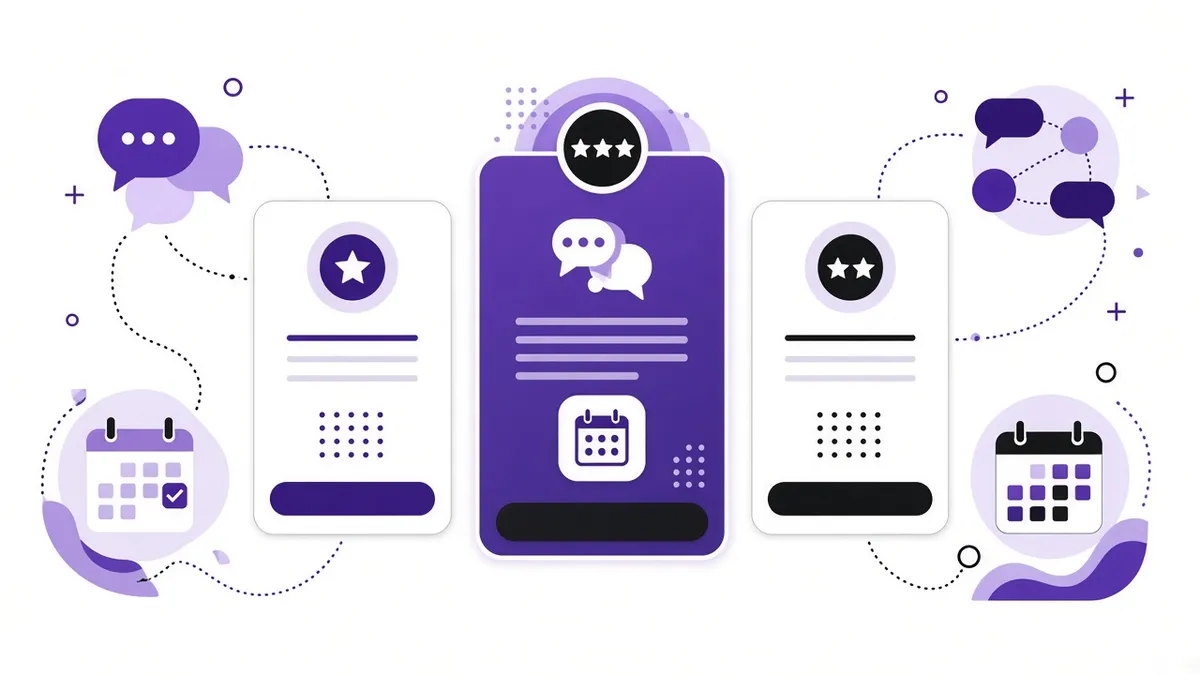
How Vancouver Coaches Can Sell Tiered Memberships (Basic, Pro, VIP)
If you're a coach, consultant, or studio owner in Vancouver, you've probably thought about running a paid community. Maybe a group for clients between sessions, a monthly membership, or a VIP circle for your most committed people.
The tricky part has always been pricing. Not everyone wants the same level of access. Some people want the basics. Others want everything, including live calls and courses. Before, offering that often meant splitting people into separate groups.
In the community tools we set up for clients, you can now offer multiple pricing plans in one community — think Basic, Pro, and VIP — plus paid private channels and an analytics dashboard. Here's what that means and how to use it.
What's new, in plain language
Three big pieces work together:
- Multiple pricing plans inside one community.
- Paid private channels — sections of your community people pay to join.
- A Community Analytics dashboard that shows earnings, members, and activity.
Quick definition: a “channel” is a topic area inside your community, like a chat room. For example, “General,” “Wins,” or “VIP Hot Seat.”

Tiered plans: Basic, Pro, VIP in one place
You set up plans under Settings → Subscriptions in your community. For each plan you can set:
- A name and description (e.g., “Pro — weekly group calls + course library”).
- Pricing that's weekly, monthly, yearly, or one-time.
- The currency (handy if you serve both Canadian and US clients).
- An optional free trial.
- A “Most Popular” highlight to draw attention to one plan.
- The order plans appear in, and whether each plan is active or not.
You can also bundle things into each plan: private channels, paid events, and paid or private courses. So your VIP plan might include a private channel, your monthly live workshop, and your signature course.
Members can compare plans, subscribe, and switch between them. That means someone can start on Basic and upgrade to Pro later without you doing it manually.
Paid private channels
Sometimes you don't need a whole new plan — just one paid area. Channels can now be set as:
- Free
- Recurring (monthly or annual)
- One-time payment
You can make a channel Visible (members can see it and choose to join) or Hidden. Members can join and pay on their own — no back-and-forth emails. It works on mobile too, and there's usually a Test Mode so you can try the whole flow before real money moves.
Community Analytics: see who's active (and who's drifting)
Under Settings → Analytics, you get a dashboard with:
- Total Earnings and Total Members
- Inactive Members — with a CSV export (a spreadsheet file you can download)
- Invitation Pending — people invited who haven't joined yet
- Traffic sources — where new members are coming from
- A peak activity heatmap — which days and times your community is busiest
- Engagement charts, with date filters
For a busy coach, the inactive members list is gold. These are people who already said yes once. A friendly check-in can bring many of them back.
What this could look like for a Vancouver coach
Here's an example structure. (Prices are yours to set — this is only about what goes in each tier.)
Basic
- Main community channels
- Monthly Q&A
Pro (marked “Most Popular”)
- Everything in Basic
- Course library
- Weekly group call
VIP
- Everything in Pro
- Private VIP channel
- Paid events included, like a quarterly in-person session in Kitsilano or downtown
The same idea works for a yoga or pilates studio in East Van, a business coach in Langley, or a wellness practitioner on the North Shore.
How to set it up: a step-by-step starting point
- Write down your tiers on paper first. What does each level get? Keep it simple — three tiers max to start.
- Create your channels and courses. Make sure the private channels and courses you want to bundle already exist.
- Go to Settings → Subscriptions and create each plan. Add a clear description, pricing, and any free trial.
- Bundle access — attach the right channels, events, and courses to each plan.
- Mark your middle plan “Most Popular” if you want to guide people there.
- Use Test Mode to walk through joining and paying, like a new member would.
- Launch to your current members first. Let them know they can upgrade anytime.
A simple win-back routine using analytics
Once a month:
- Open Settings → Analytics.
- Export the Inactive Members CSV.
- Send a short, personal note: “Hey, haven't seen you in a while — here's what's coming up this month.”
- Check the peak activity heatmap and post your biggest updates at those times.
It takes about 20 minutes and keeps your community feeling alive.
Things to keep in mind
- Be clear about what each tier includes. Confused buyers don't buy.
- Don't over-build. Start with what you can deliver consistently.
- Check your own tax and payment setup with your accountant before charging — that part is specific to your business.
If this is something you want to simplify, send me a message and we’ll map out what makes sense for your business. You can also see how I help with marketing and CRM systems.
— Simon, SMA Ventures


